http://www.nightvisionforumuk.com/index.php
Because they really do not have a firearms market anymore accessories like night vision are also not readily available. So what do they do? They make their own using readily available and cheap security cameras. You can get everything from just the camera board to complete security cameras that you must take apart to use.
How this works is there is always infrared light which is invisible to mamals but visible to these digital cameras once you remove the IR filter. Every camera comes with an IR filter because there is no need to see it. And also because when you remove the filter the visible and IR signals are slightly different which can cause some blurriness with cameras. But it is not that bad.
So what I did is start researching which cameras were best. And it comes down to two choice as far as criteria. you either get light gathering ability or high resolution. Lower resolution may sound bad but when "low" resolution is still better than the screen there is not need to loose light gathering for resolution you will not use. So I chose the best chipset for light gathering, except for a brand new $700 camera fro Watec. The best is a chipset called a ICX633/632 and it is 2x-3x better at light gathering than the camera with the highest resolution. It is a great trade off unless you are using a BIG screen but on a weapon you do not want, or need, a huge screen.
Now this setup is more of a one off setup because I enclosed the camera in a project box for a clean appearance. But it is possible to have a setup that requires very little custom work.
And how much do I have in this setup? Honestly it went a little higher than I wanted but I have less than $130 in the entire setup.
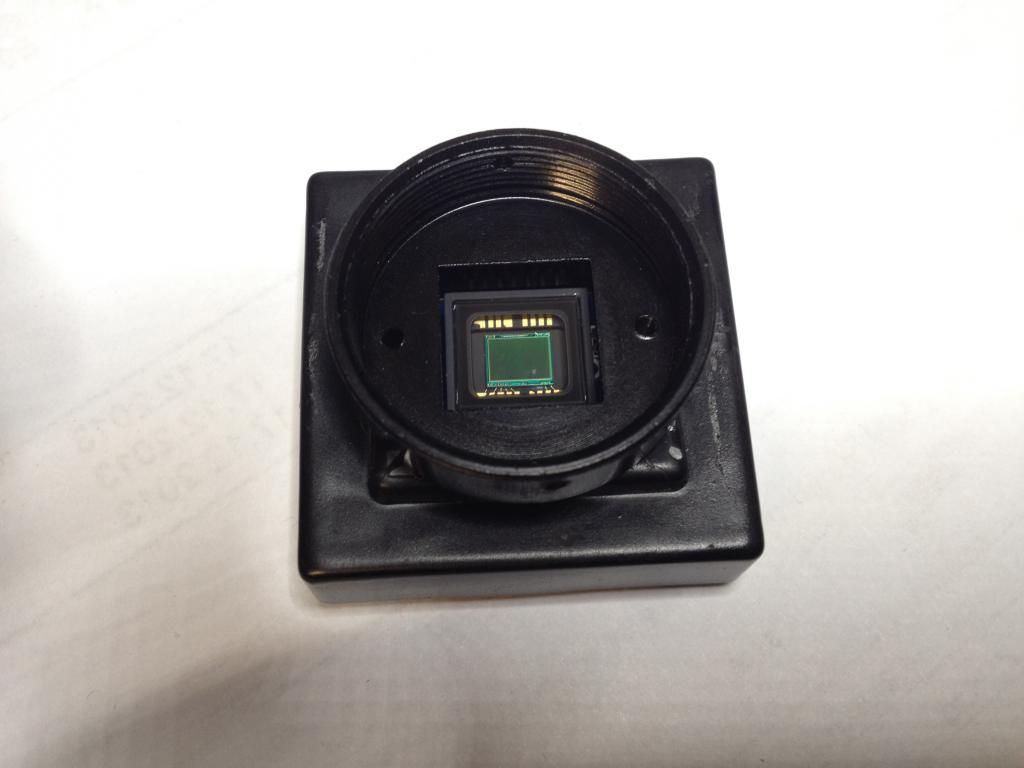
I started with this board camera:
http://www.aliexpress.com/snapshot/6006732453.htmlhttp://www.aliexpress.com/item/NTSC-1-3 ... 78504.html
You will notice a screen on the front of the lens, that is the IR filter and the manufacturer will remove that for you when you order.
The back has two plugs. One is for the power and video signal and the other is for the On Screen Display that allows you to make adjustments to the camera.
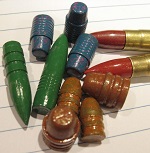
And because light gathering is the priority I decided to upgrade from a standard lens to a CS mount. The CS lens is larger lens so it allows more light through. The seller also sells the CS mount and the correct 16mm lens for use behind a scope.
http://www.aliexpress.com/snapshot/6006732455.html
Here is what must be modded to the camera case.
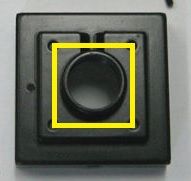
And here is how the camera will basically look inside the ring.
And because you have the ability to change settings you must have the OSD cable. This is the one that I bought and it works great. If you notice the pictures below you will see how it is wired into the plug because it does not come wired.
http://www.aliexpress.com/snapshot/6006732456.html
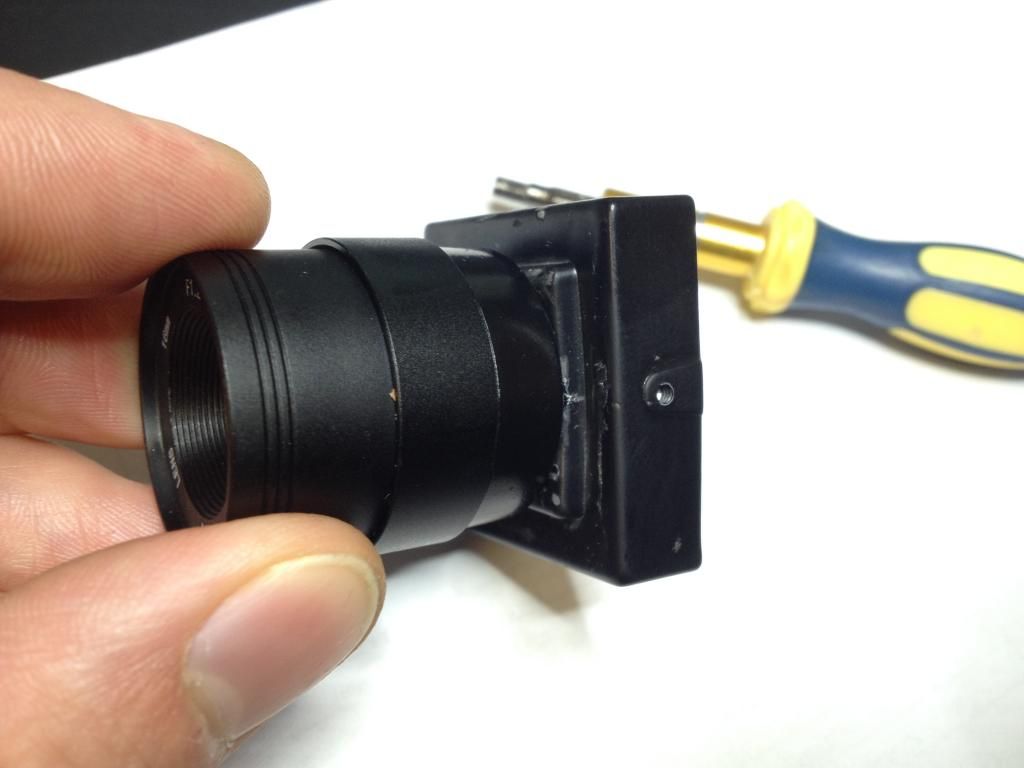
The housing I bought was actually recommended by someone and it was the wrong one. It was not deep enough for the board above so I had to drill a clearance hole for a diode, see pictures below. I think this is the correct housing or at least it is deeper than the one I bought.
http://www.aliexpress.com/item/Indoor-M ... 36035.html
And because I knew I would eventaully not have to use the OSD cable I ordered these. It allows me to power the board and send the video single without all the extra wires of the OSD cable.
http://www.aliexpress.com/snapshot/6006732457.html
Now we need a way to power everything. For that you need a 12V DC battery. I ordered one that is way too big for my needs but it should have run times measured in days rather than hours. I ordered this one.
http://www.aliexpress.com/item/6800mAh- ... 84329.html
Next we need a screen to view everything. I ordered a 3.5" TFT screen like this one.
http://www.ebay.com/itm/3-5-Digital-TFT ... 257f7d134f
It was cheaper on Ebay so I ordered from there.
And finally we need a cable to power everything up. And Ebay provided this as well.
http://www.ebay.com/itm/390576798464?_t ... EBIDX%3AIT
Now that we have all the parts assembled how do we mount it? Because the camera needs to be centered in the scope I used the scope rings that were the same height for the scope as well as the camera. The camera itself is 30mm so you need rings that support 30mm and the scope which for me was 1". And athough it is not in the pictures these are the ones I ordered. I ordered two sets, two rings for the scope and one ring for the camera.
http://www.ebay.com/itm/141172611188?ss ... 1439.l2649
I also bought a IR bulb for my Surefire. It works great and gives a fair amount of IR light out to about 100 yards.
http://www.ebay.com/itm/850nm-CREE-IR-L ... 2a3525c692
Now the camera needs to be about 2" behind the scope so you may have to move your scope forward. Or another way to do it is to use a seperate picatinny rail that goes from a single ring installed at 270 degrees on the scope to the scope at the rear. Here is a good video showing the setup:
http://www.youtube.com/watch?v=4wnNFR99xGI
I wanted mine to be more permanent for now and although I can use the method above I plan on making another NV setup that will be able to be moved from gun to gun.
I mounted the camera in a "project box" from Radio Shack. It cost something like $4. I also added a 5.5mmx2.1mm femal plug to get power into the box. The plug was like $3
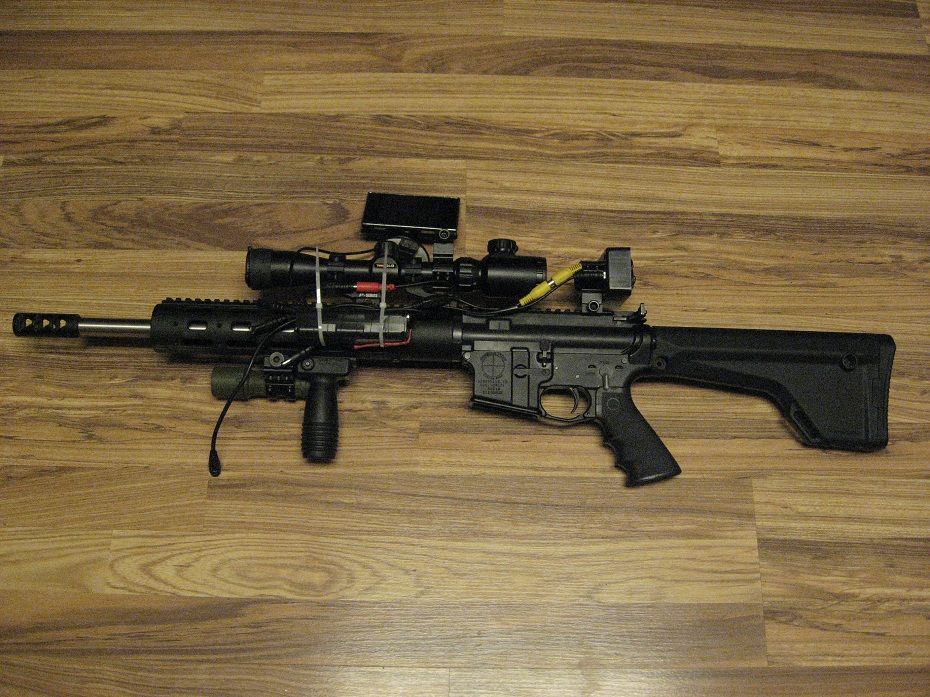
So here are some pictures of my setup:
I do not have my dedicated battery pack yet so this is just a pack that uses either AA batteries.
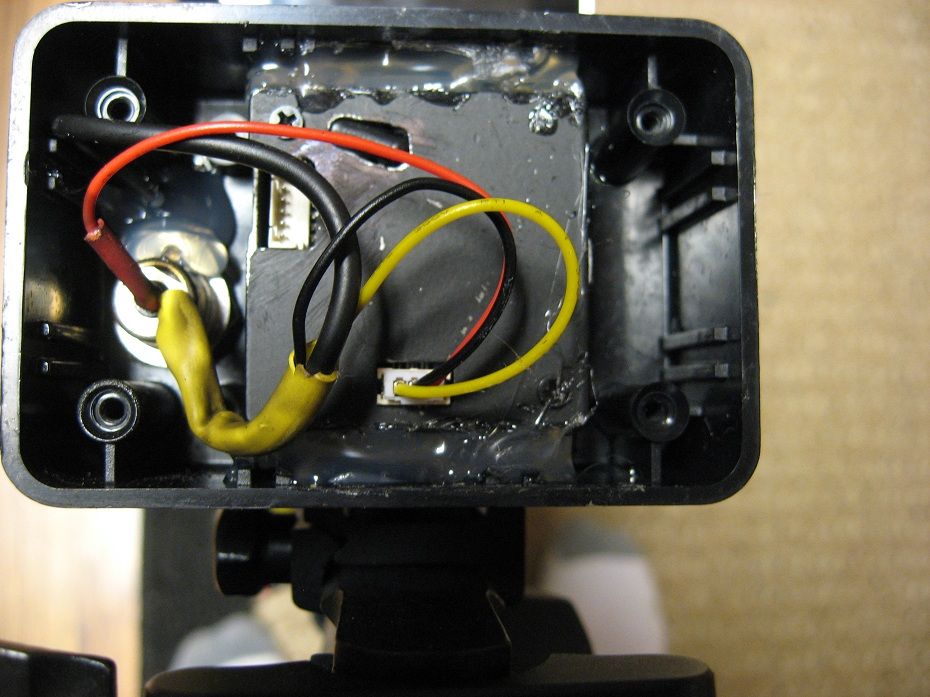
Here is the camera installed in a "project box" to protect it some. The bottom plug is the video and power. The empty plug on the left is for the OSD. I just need to plug in the OSD cable to make adjsutments to the camera. The plug is from Radio Shack to supply power and I cut a RCA cable in half and passed it through the glued it in place. I also glued the camera in place. And all I need to do is remove the back cover to make OSD adjustments.
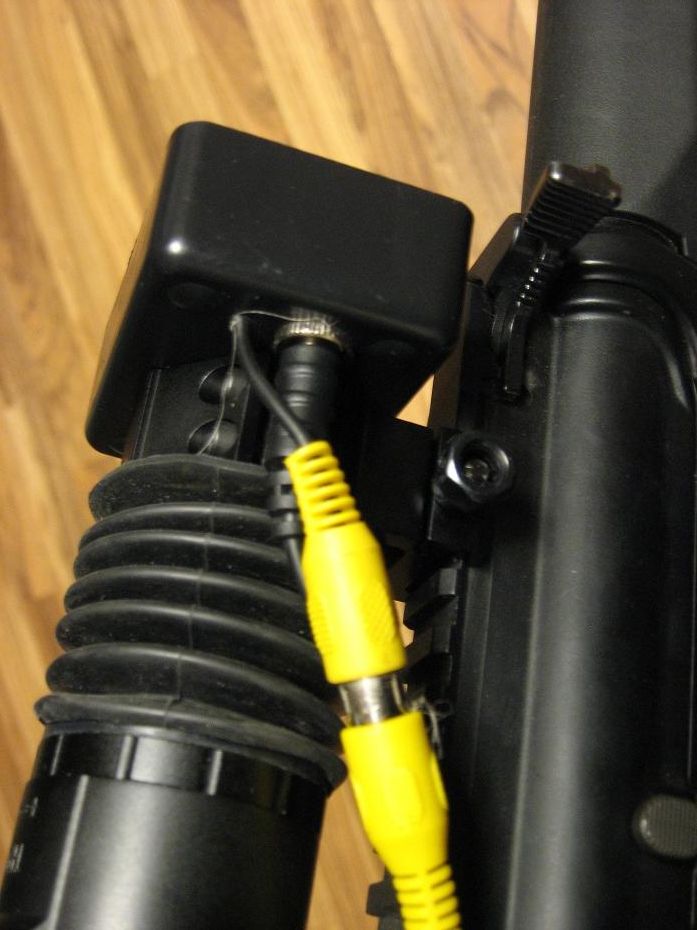
Here is the front side of the "Project box" with all the connections as well as the camea passing through. The accordian looking thing is an eyepiece you can buy off of Ebay. I use it to keep the light from the screen from entering the camera.
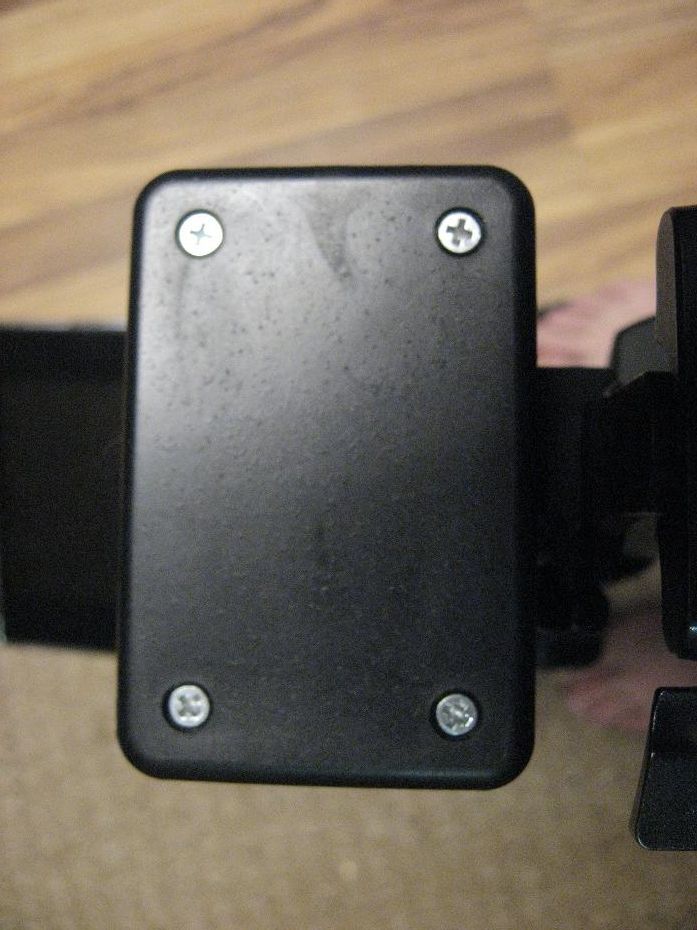
And here it is all buttoned up.
So how well does it work? Let me start by saying that the screen shots do not do it justice. It is extremely clear but when you try to take a picture of a digital device when using a digital device it never looks all that great.
Here is how the reticle looks throught he camera. You use your scope to zero so all the adjustments are the same, you are just looking at a screen rather then through and objective.

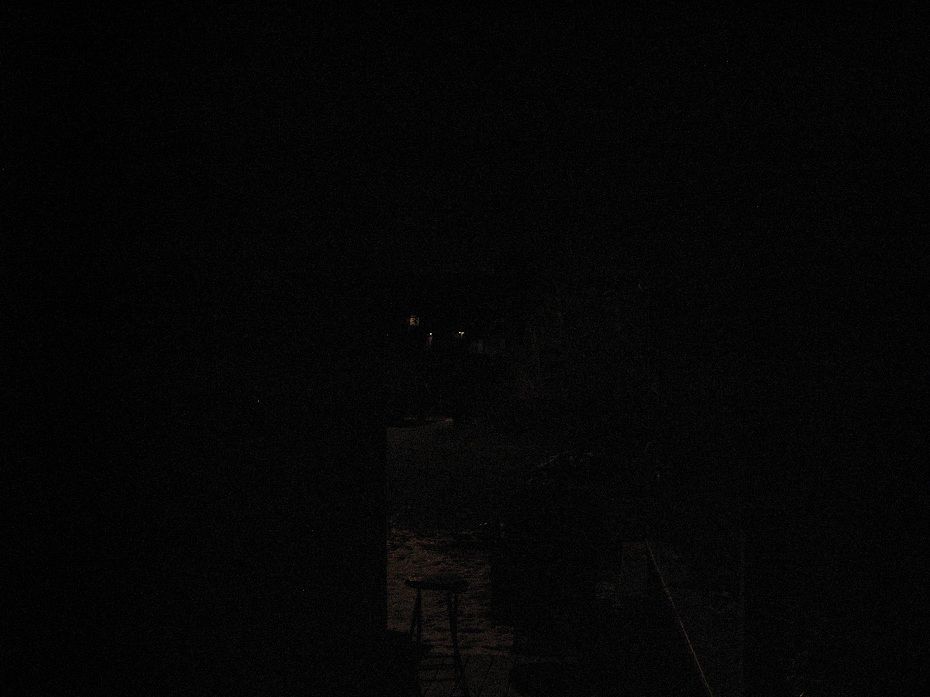
Here is a picture of my neighbors house 100 yards away as seen with your naked eye:
And here is the same view through the DIY night vision.
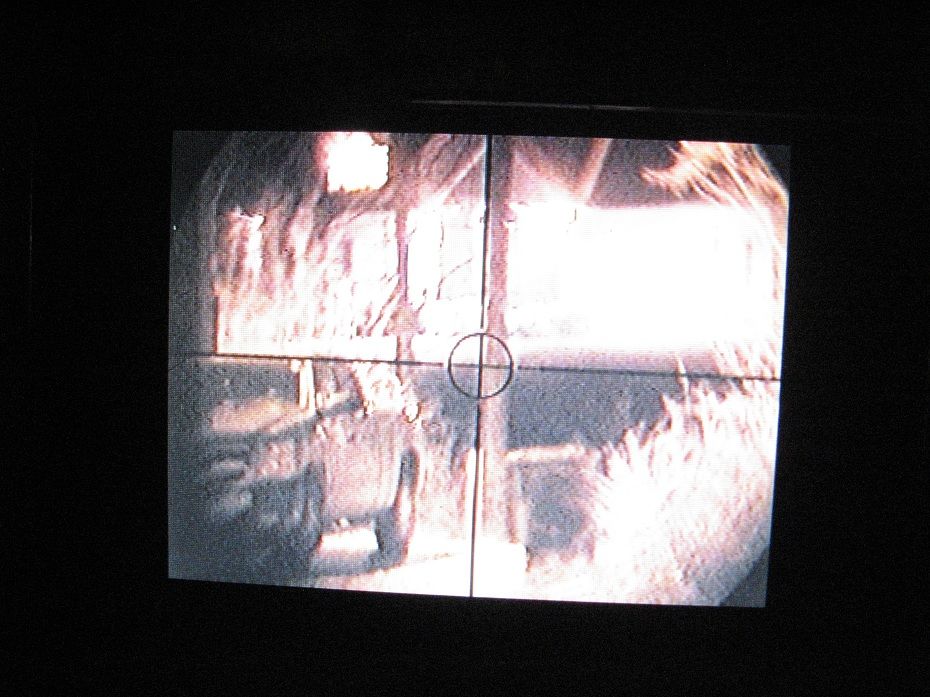
Again the quality sucks because of the camera but you can see all the light the camera is picking up. And this is without the scope setup to run night vision only. It can be used at dat or at night. I could have got it much brighter had I set it up for night only. And this is without any weapon mounted illumination.
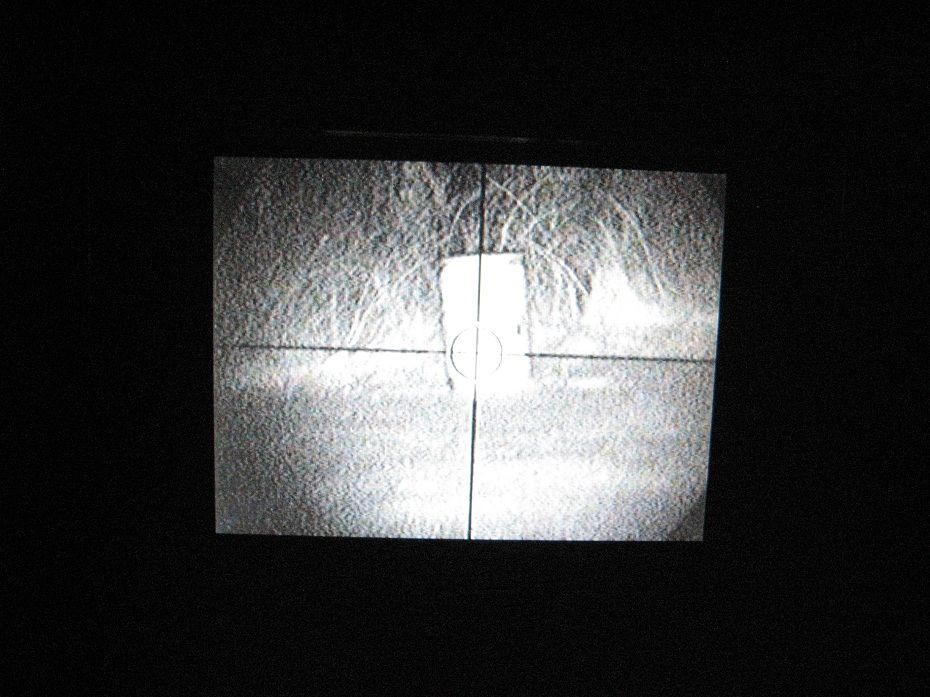
And here is in total darkness with an IR bulb in a Surefire. The distance is 25 yards.
I am sure i am missing a bunch of stuff but I will add as I remember.
I will post a parts list as soon as I order another setup and that will happen when the Chinese New Year is over in a few weeks. I am going to talk to the supplier to see if they can setup a DIY kit where the camera can be bought with the correct case, lens, OSD cable, screen, battery and cables. If they can then it will be so easy to setup.
I am going to be ordering a few more setups to try to figure out an easy way to duplicate for those who are like me and are technologically handicapped.
Ask away.
